Introduction
Prue McKay, National Archives of Australia
Most photograph conservators come to that specialism through the world of paper, so it’s probably safe to say that we are not experts when it comes to other materials such as metal and glass, and yet when dealing with early photography in particular, it is necessary to have a good working knowledge of both, in order to understand the technology and deterioration of objects such as glass negatives, lantern slides, wet collodion positives on glass/Ambrotypes, tintypes and Daguerreotypes, as well as modern techniques such as glass-mounted chromogenic transparencies and holograms.
Susie Clark, a world-renowned photograph conservator from the UK, realised this, and taking advantage of her location in the city of York, spent a lot of time with glass conservators working on restoration of the stained glass windows of York Minster. This allowed her to develop and refine repair techniques for photographic glass, and she now travels the world with her three-day workshop, giving us the benefit of her skills and knowledge of the care of glass as both support material and covers for photographs.
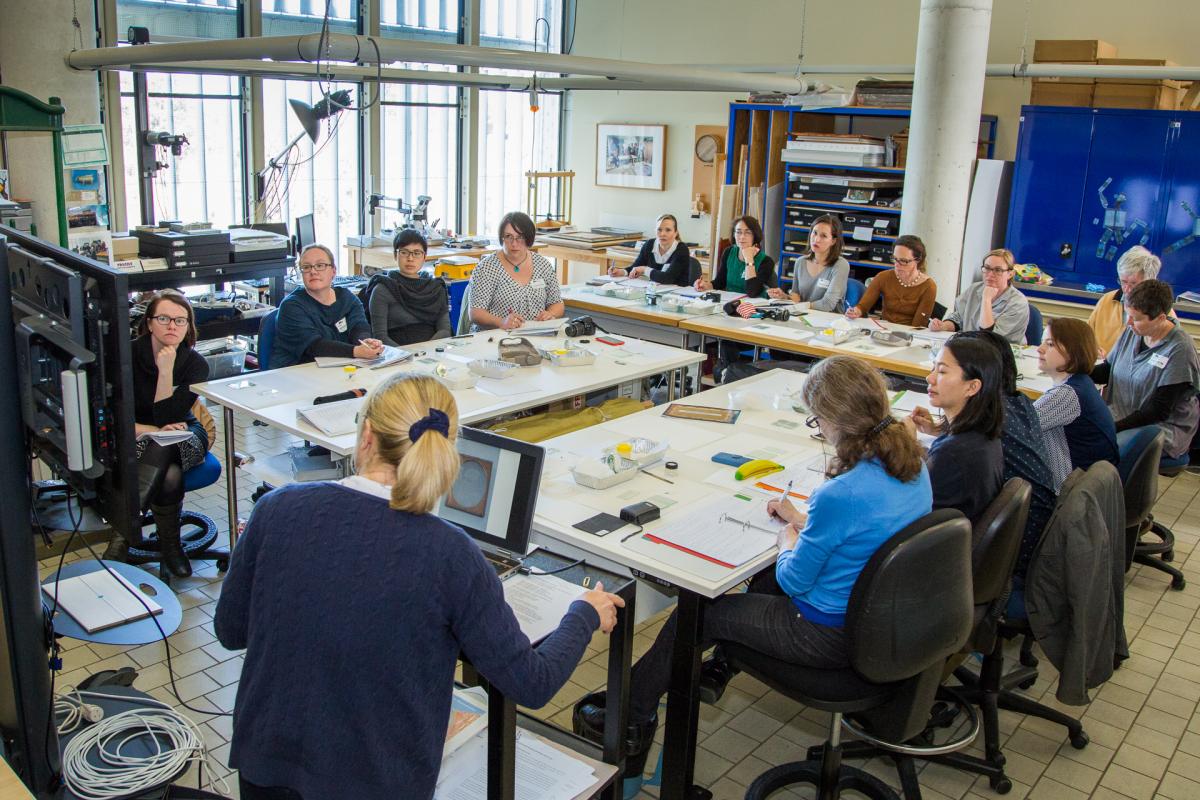
The workshop was held in the Paper Lab at the National Gallery of Australia from 13–15 October, immediately following the Book, Paper and Photographic Materials Symposium. Fifteen participants from institutions around Australia enthusiastically participated in the lectures and practical sessions. We were given a potted history of the technology of glass manufacture, and of cased photographs and photographic coatings and emulsions, and were able to view examples of almost every common/commercial type of early photograph, including more unusual forms such as crystoleums and ruby glass wet collodion positives. All sorts of decorative cover glasses for these photographs were on show thanks to the wonderful collection of the National Gallery of Australia, and many participants brought their own interesting examples of photos on glass to share with the others. The deterioration of glass and its effect on photographic emulsions was discussed at length.
I would like to thank Susie Clark very much for coming all the way to Australia (in cattle class, too!) to teach us, and also Andrea, Fiona and James in the Paper Lab for, amongst other things, letting us take over their workspace for three days and arranging everything so beautifully.
Workshop Review 1
Tegan Anthes, Preservation Australia
This three-day workshop was full of activity, discussion, practical application and experimentation in the conservation of glass in photography.
Susie introduced us to the nature and chemistry of glass on the first day. She had such a lovely delivery style that we all were soon comfortably asking questions and discussing the different properties of glass and its deterioration.
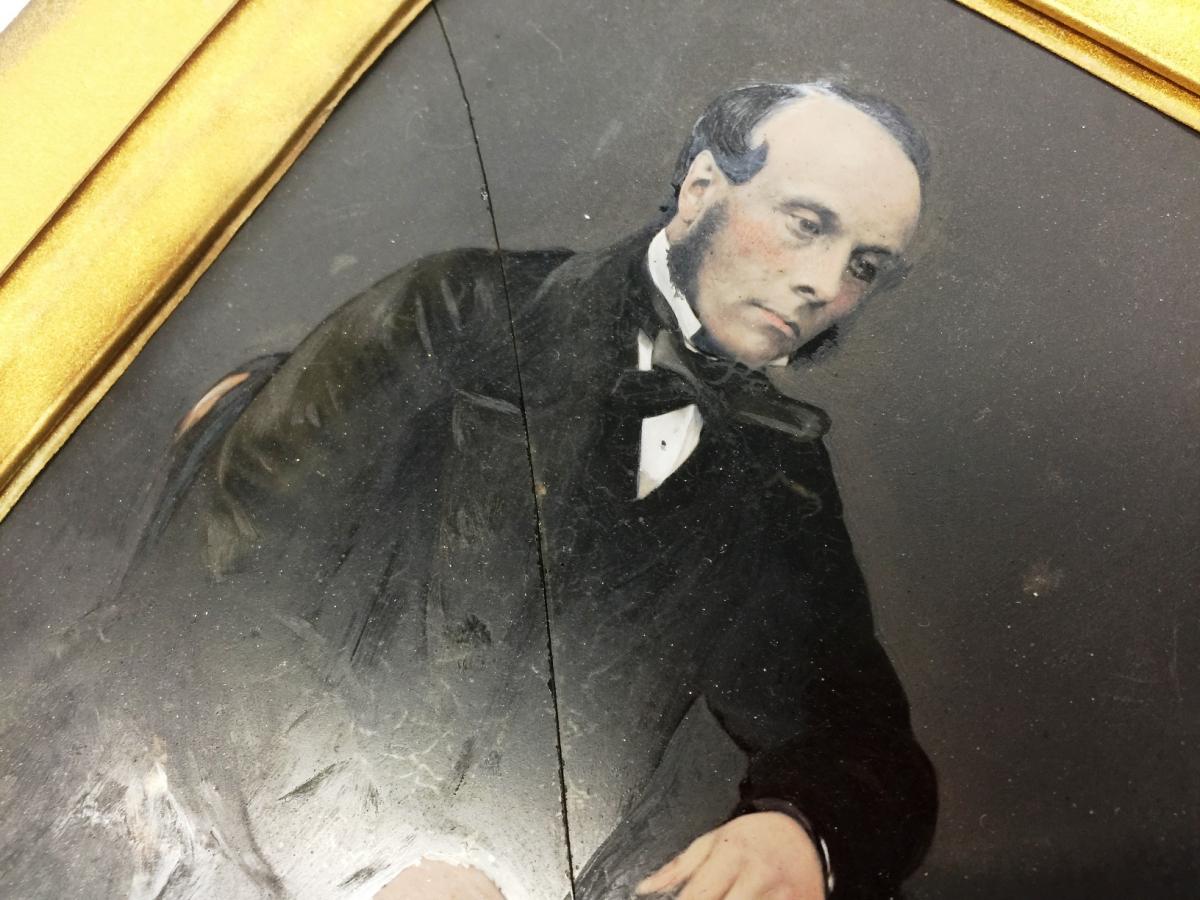
Susie had many examples to illustrate the various processes and deterioration characteristics, and participants also shared their own examples. There was a lovely example of a crystoleum which is a waxed albumen print adhered to the underside of a curved piece of glass with another curved piece of glass that has painted highlights. When the two pieces of glass are aligned the image appears in colour.
On day two we spent some time experimenting with two different adhesives – Paraloid B72 and Hxtal NYL-1. We found that the Paraloid B72 is only useful as a temporary join and it is not strong enough to be used as a repair. The Hxtal NYL-1 worked well as a repair but most of us need practice in application, as it needs to be put on with the tip of a fine scalpel along the break line of the glass – some of us used too little and others too much. It was lucky that we were only working with mock-ups!
Workshop review 2
Stephanie McDonald, Tasmanian Archive and Heritage Office
This three day workshop was led by Susie Clark, a leading photographic conservator from the York in the UK. Susie is internationally recognised for her research and innovative work on the conservation of wet collodion positive photography.
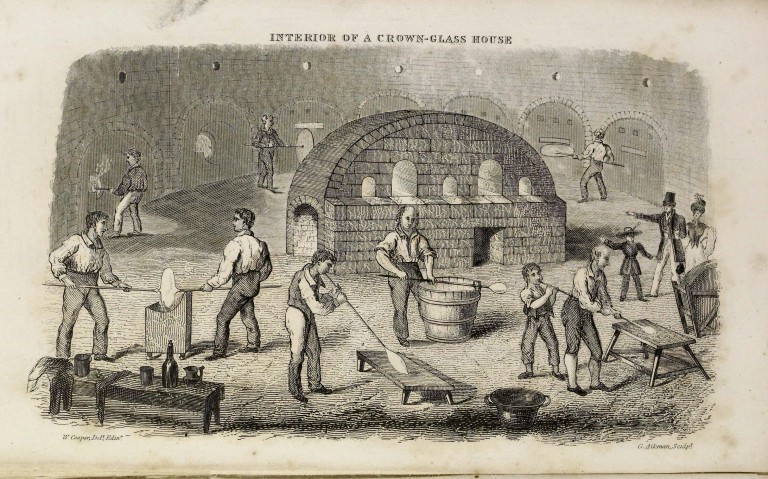
Susie began the workshop describing the nature and chemistry of glass. She described the glass-making processes from the early crown, cylinder and plate glass to machine drawn, polished and float glass.
This was followed by a brief overview of the range of photographic processes that contain glass – daguerreotypes, albumen negatives, wet collodion positives, ambrotypes, collodion glass plates, stereoscopes, crystoleums, opaltypes, lantern slides, gelatine dry plates, autochromes (colour), chromogenic transparencies and holograms.
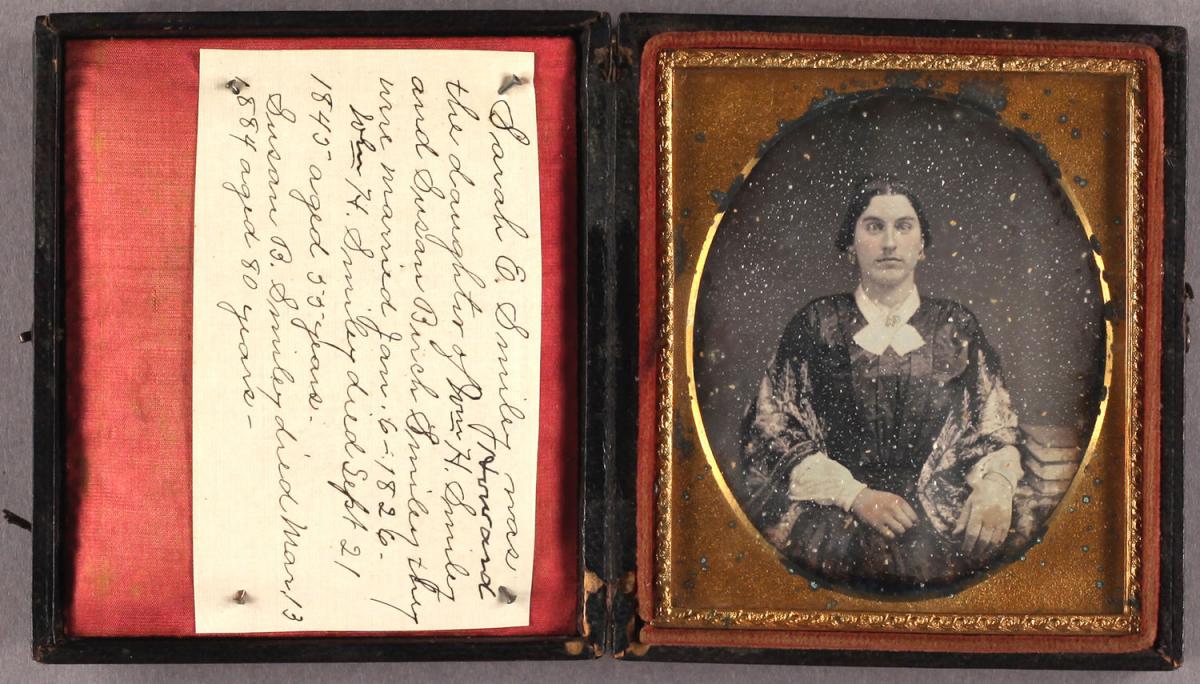
Glass deterioration in photographic processes was described and we examined examples under the microscope.
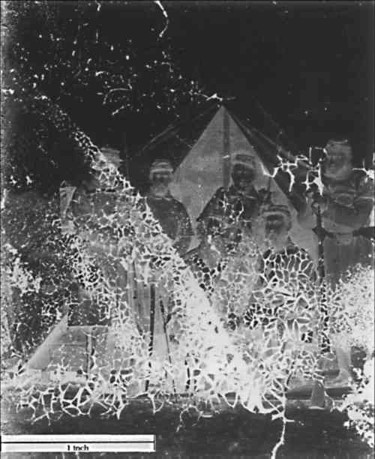
Glass deterioration can sometimes look like dirt or dust to the naked eye but under a microscope, can be seen as white crystalline deposits or droplets of liquid. This crizzling or weeping is due to the alkali in the glass being brought to the surface by water (high and/or fluctuating relative humidity). As the pH increases at the surface, the structure of the glass is compromised and can crack. There are also interactions with other components such as emulsions, mounts and cases, varnishes and backings.
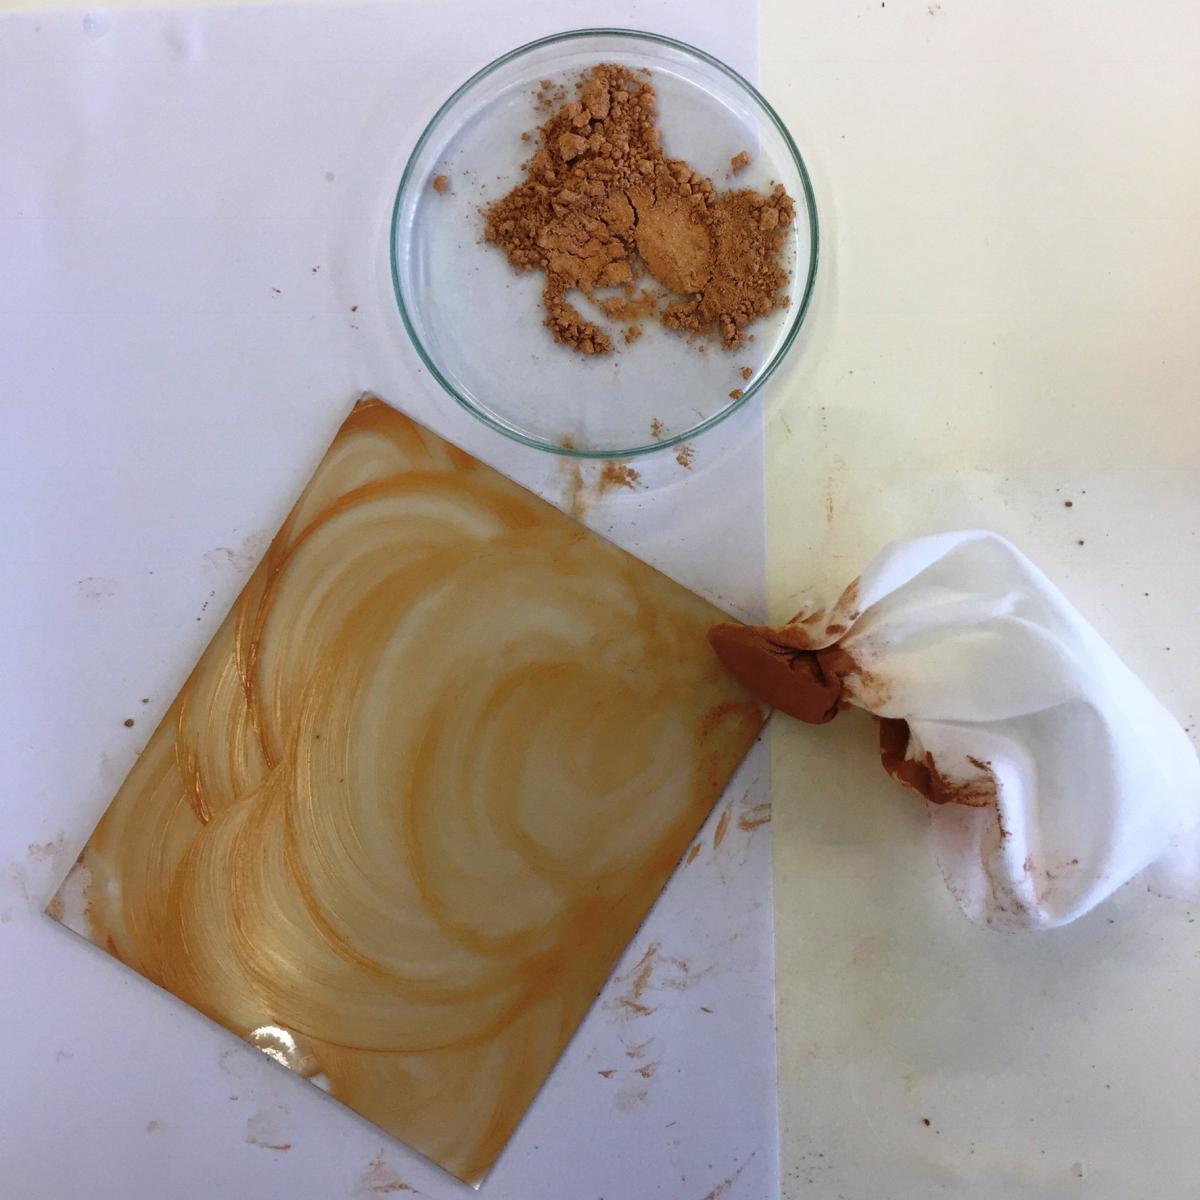
We had a practical session on cleaning and polishing glass. This is done to remove dirt and deterioration glass crystals. Photographers used to clean glass to re-use plates with emulsions and/or varnish. We looked at brushing, washing with water, detergent, alcohol and solvents. A practical session employed traditional methods of polishing glass with whiting (calcium carbonate), rottenstone (silica, ferric oxide and alumina) and cerium oxide, used to prepare a facsimile decorated cover glass.
After learning about traditional adhesives used to repair glass in photography we tried out two adhesives often used in conservation: Paraloid B72 and Hxtal NYL-1 to compare them. The Paraloid was prepared in advance and we prepared the Hxtal. The edges of the glass were cleaned with acetone and then the adhesives applied.
We discussed the pros and cons of each adhesive and their practical application in repairing photographic glass material.
- Paraloid applied with a brush
- Hxtal applied with a fine point (scalpel)
- Glass held together with magic-tape sutures
- Both rely on wicking action of the adhesive
- [Hxtal is irreversible – Eds]
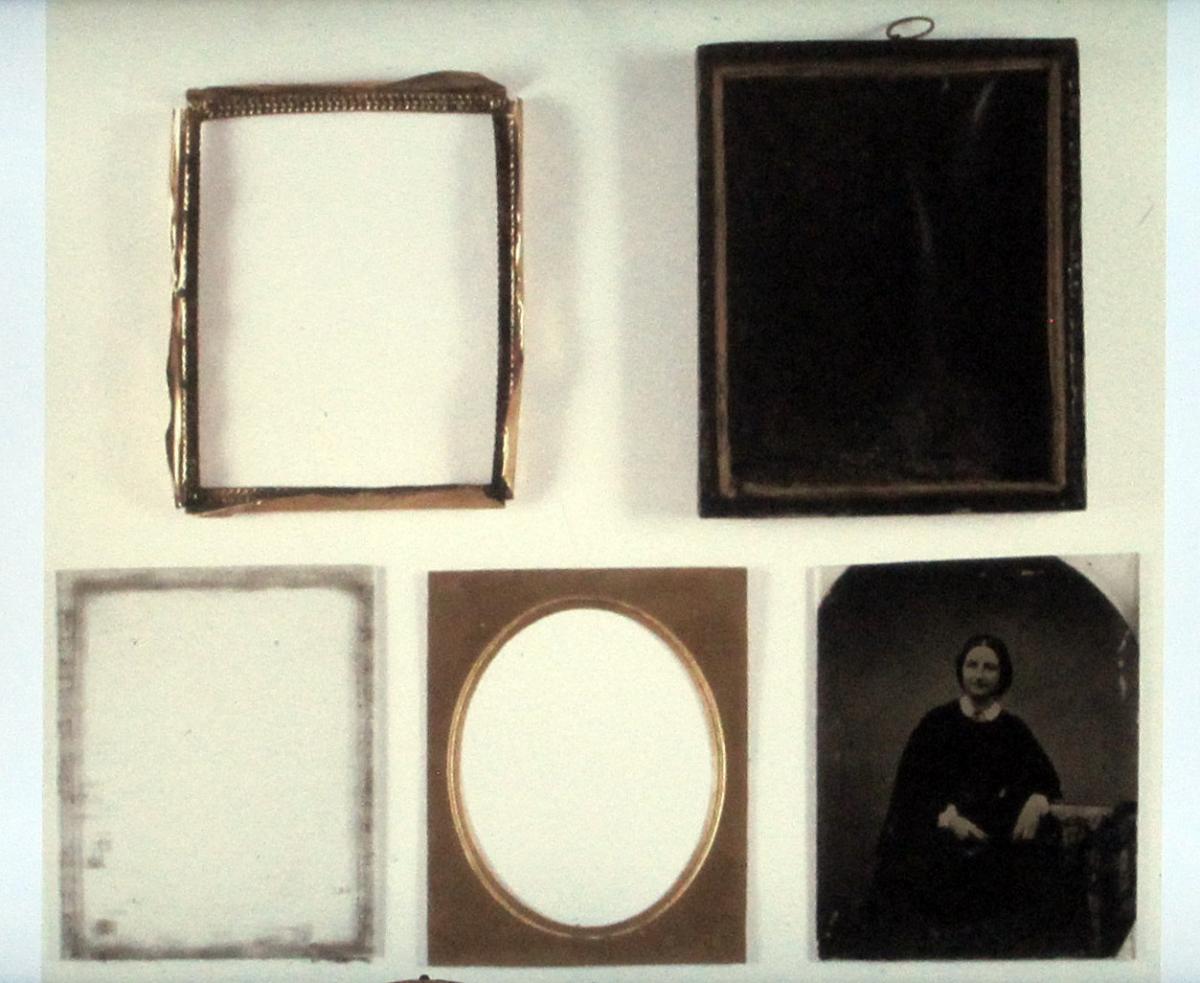
The next session examined the structure and conservation of cases and passepartouts including methods of cleaning and assembly; tools to use; backing replacement or additions and repair of cases with Japanese paper and starch paste.
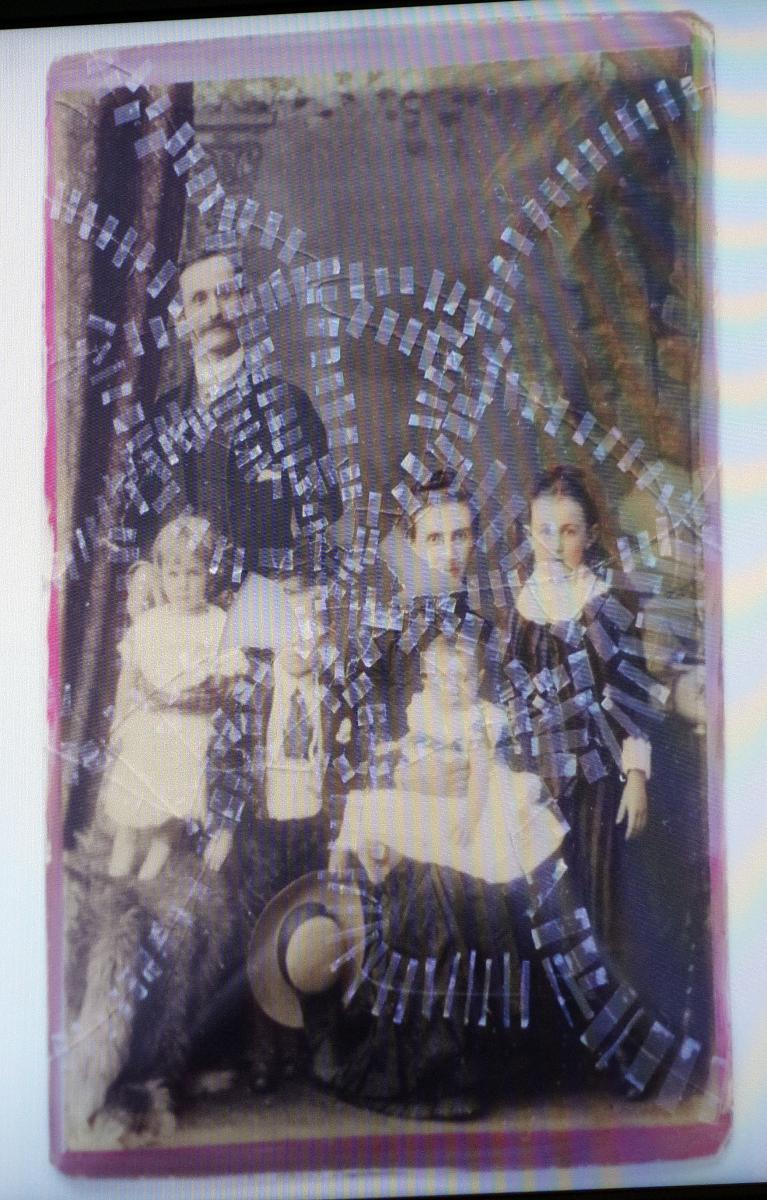
There was a fascinating look at Crystoleums – late nineteenth century hand-coloured photographs mounted between two curved glass sheets. Susie had a fascinating tale about a shattered crystoleum caught in the tussle of a ménage a trois, and the long and careful repair she completed.
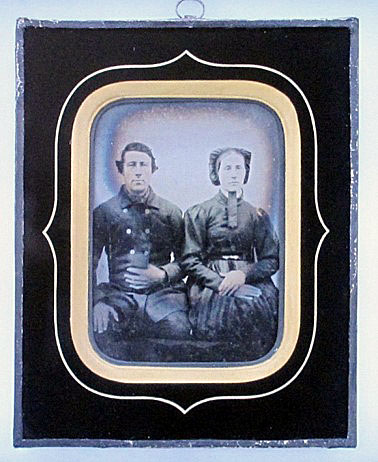
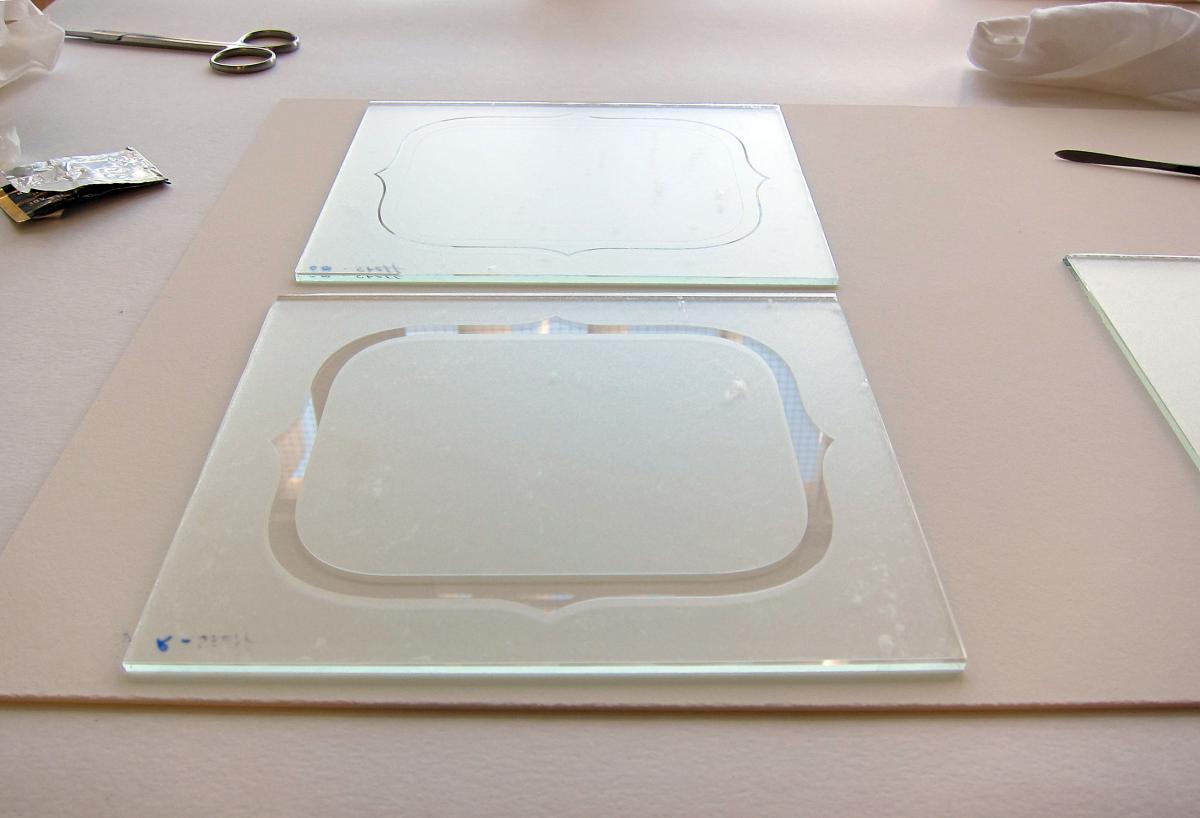
The final practical session was making a facsimile decorative cover glass using the sheets we had polished earlier. We made up the gold, black and white paints using traditional recipes and used pre-prepared masks, applying the paints with brushes and removing the masks when the paint was dry.
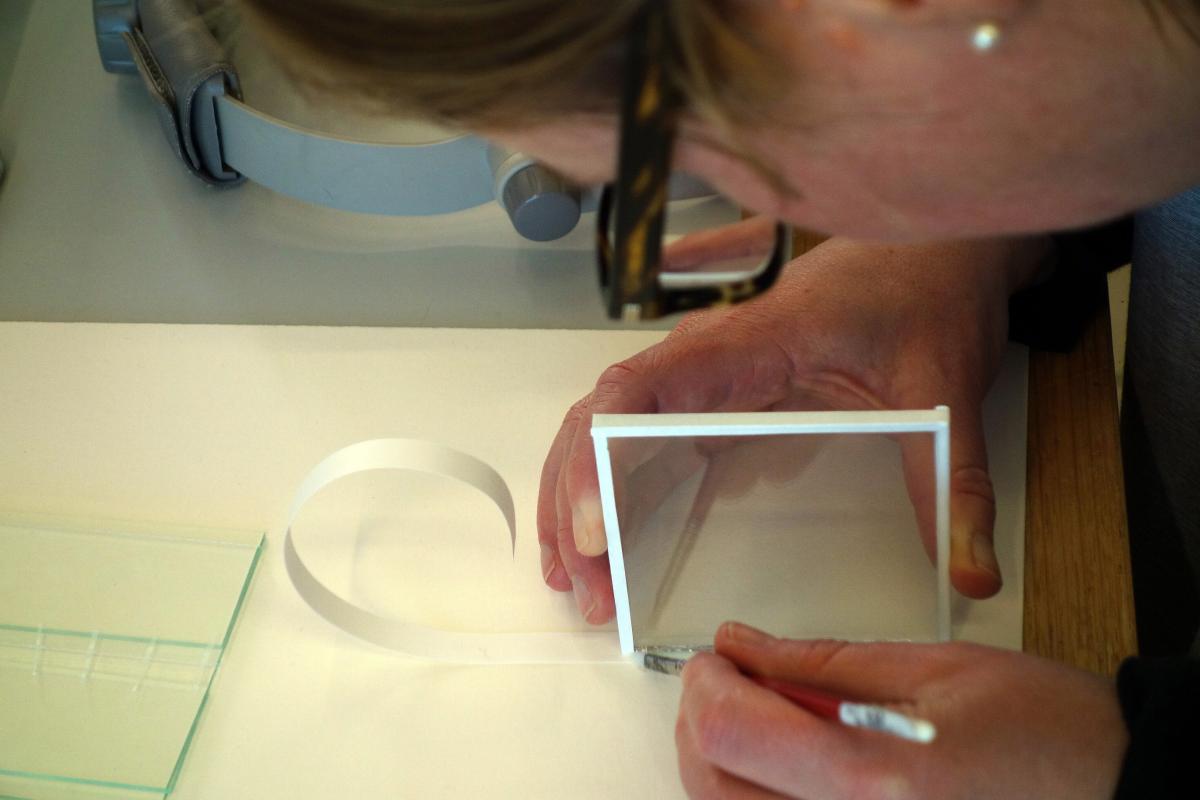
While the paint dried, we practiced binding lantern slides using silversafe paper and methylcellulose paste. Again there were interesting discussions about the various binding methods that have been used in the past and some of the benefits of this system.
The last session was on housing and storage, looking at poor storage environments and materials – using inert shelving and furniture, paper enclosures and good support. This included some interesting variations on materials that we have available to us in Australia.
The workshop was a wonderful three-day intensive focus on the nature of glass in photographic processes, particularly during the very experimental nineteenth century. We learnt an enormous amount about the wide range of formats, examined deterioration up close and benefited from very practical application of repair techniques. There were many interesting discussions between participants and it felt good to focus on one thing to the exclusion of all else!!