On Tuesday 11 June, 20 conservators met in the beautiful lab space at Preservation Australia to listen and share ideas on conservation tips, tricks and special tools. Organised by AICCM NSW Division and Preservation Australia, it brought together conservators from a range or specialisations who work in private practice and institutions. All walked away with an idea or tool to try out in their own conservation practice. Just looking around the airy and light-filled upstairs lab area at Preservation Australia gave us ideas (IKEA RÅSKOG Trolley as a portable tools and weights trolley).

Tip #1: Silicone-tipped ‘shapers’ for ceramic fills
By: Annick Vuissoz, International Conservation Services

Silicone-tipped shapers with a paintbrush-style handle are a versatile tool to shape ceramic fills. Annick uses them with Golden Gel Medium—light moulding paste, and Liquitex gel medium—flexible modelling paste. After moistening the shaper tip with methylated spirits, the infill surface can be shaped to a smooth result at different stages of the infill drying. It prevents the need to use abrasive paper or other mechanical tools that might scratch the object’s original surface. To clean the shapers, wipe them with a paper towel moistened with methylated spirits, rinse them, or, if gel has been used, it can be peeled off. The shapers are available in lots of different shapes and sizes. They also have multiple uses apart from ceramics—for example, Wendi Powell uses them for surface dirt removal in paper conservation and to lift gels used during treatment. The Art Spectrum brand is sold at Eckersley’s.
Tip #2: Securing artworks on display (alternatives to Museum Wax)
By: Kasi Albert, Museum of Contemporary Art
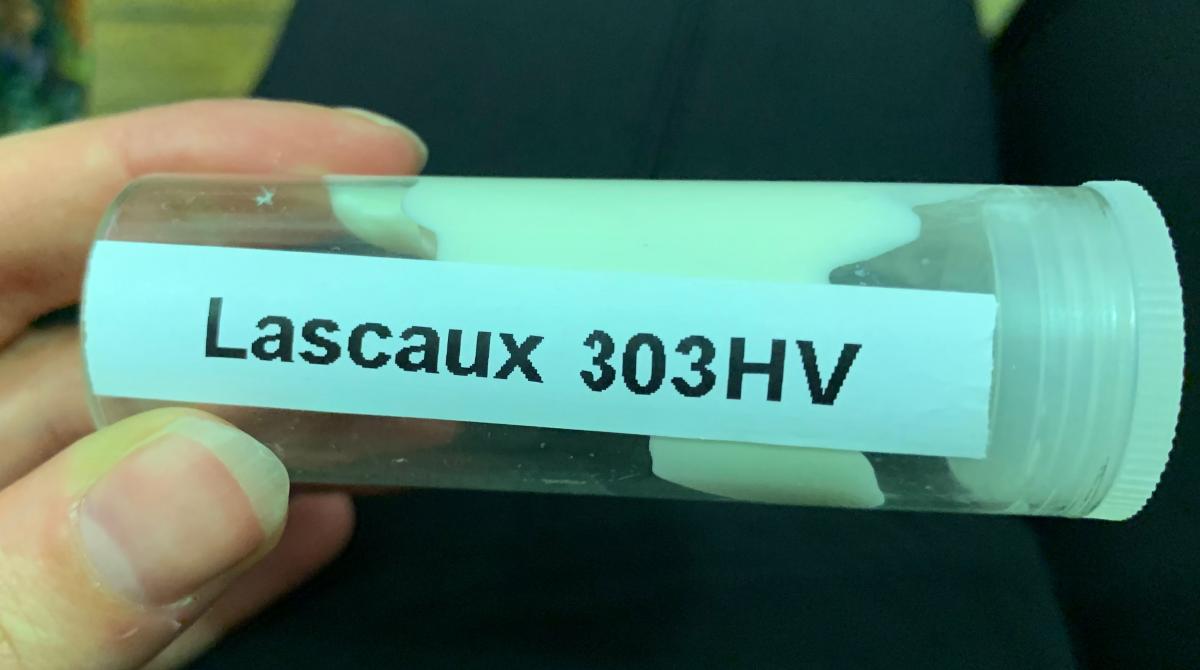

Previously, museum workers have used Rhoplex 498 sticky dots with mild tack to secure artworks whilst on display (Christchurch Art Gallery has a poster on this). However, Rhoplex 498 is no longer made. An alternative recommended by Kasi is Lascaux 303HV, with the only differences being a slightly yellow hue in comparison to Rhoplex 498’s clarity, and greater viscosity. Lascaux 303HV is a conservation-grade adhesive, which is usually available in conservation laboratories. Dots can be made to suit your purpose and can be as small as you want and also flat. To create the dots, apply the Lascaux 303HV onto silicone release film using a syringe with no needle. When attaching them to the desired surface use tweezers as the dots lose their tack if handled. The Lascaux 303HV dots roll off easily but are strong enough to hold. So far Kasi has used the dots for a three-month period and they have performed well. She strongly advises against using the dots on friable or fragile surfaces.
A non-conservation grade alternative is 3M VHB tape (double-sided clear gel tape). It is thicker than normal double-sided tape and doesn’t leave any marks when rolled off. It has not been Oddy tested so Kasi recommends testing first and ensuring it is suitable for the object (nothing friable or fragile).
Annick also suggested testing industrial silicone gel (non-conservation grade). It leaves no residue and comes as a flat sheet.
Tip #3: Portable (and cheap!) magnification tools
By: Lucilla Ronai, Australian National Maritime Museum
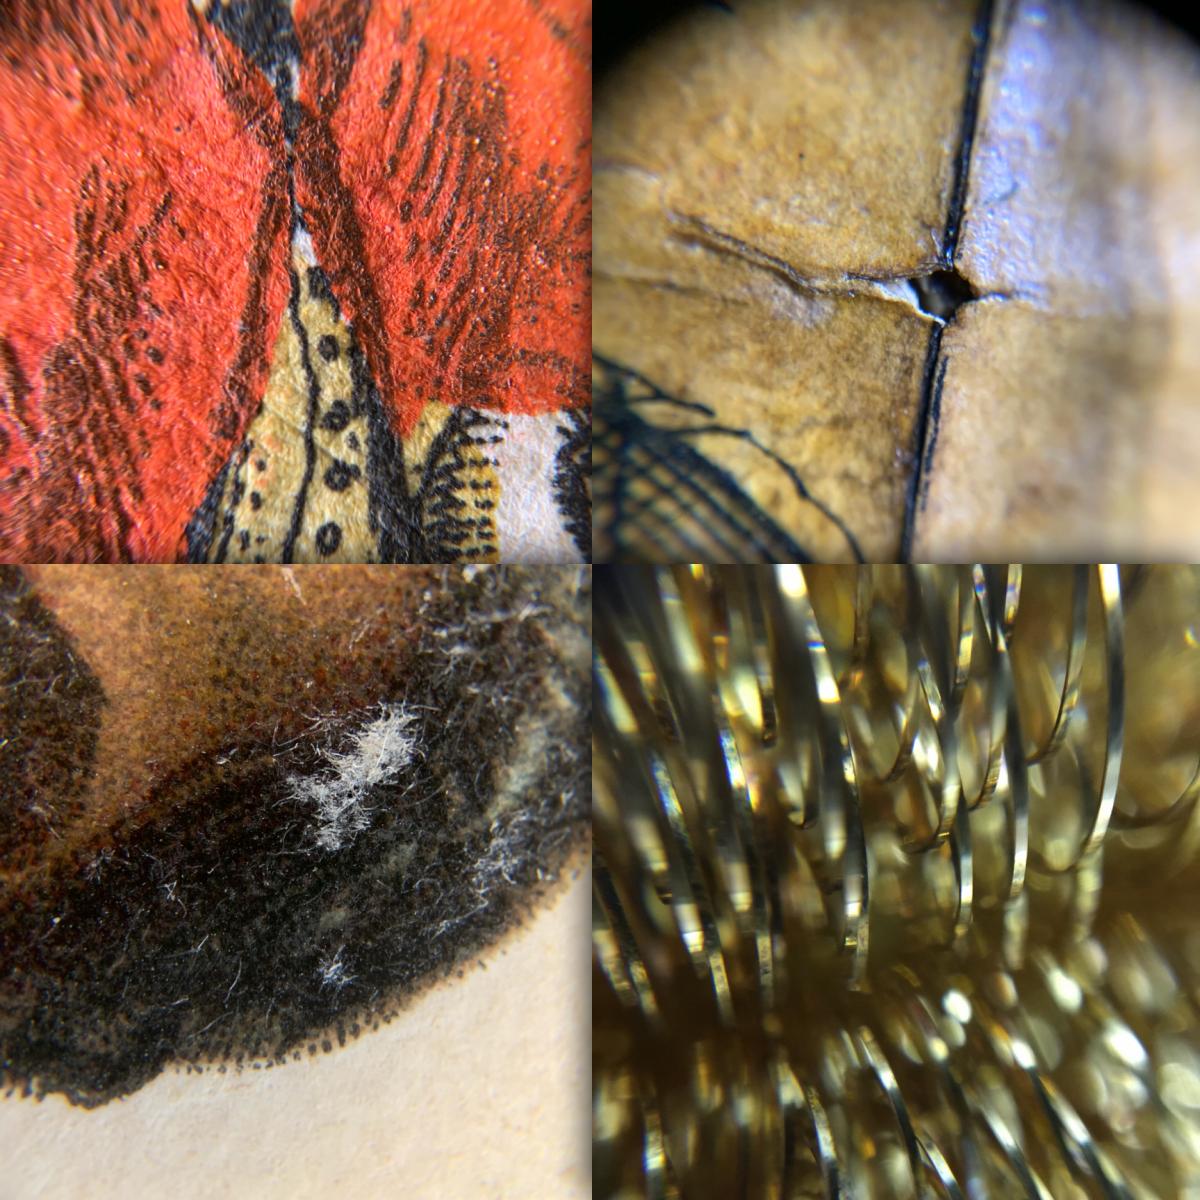

There is now a range of very small, powerful and portable magnification tools you can use to view items and capture images of them. Some conservators don’t have access to table-top microscopes or are in the field. These are some great options:
- Clip-on macro/magnifier lens for mobile phones: allows you to ‘live’ view on your phone up to a magnification of 24x and photograph it. Luci uses the Apexel MACRO Clip-On Lens. There are some limitations: no focus on the lens and fixed magnification means you need contact with the surface of the object to view it clearly.
- Pocket microscope: 60–120x magnification with LED light and adjustable focus. There is space for you to insert a tool while viewing. Luci uses the CARSON Micro Carson MM-300 MicroBrite Plus Pocket Microscope, but recommends shopping around as the price, magnification and specifications vary greatly.

Tip #4: Choosing the right cordless drill for the job
By: Nicholas Flood, Australian National Maritime Museum (ANMM)

Nick talked us through cordless drills and impact drivers and their best application in the conservation lab. Most people are familiar with cordless drills—they have a chuck to hold the bit and are used for drilling holes and fastening screws. They’re versatile, smooth and quiet. Impact drivers on the other hand don’t have a chuck (they use a collet that allows for quickly changing bits) and are normally only used for screws and fasteners. Impact drivers are forceful and loud tools. ANMM uses both 12V and 18V cordless tools. The 12V’s are lightweight and strong enough for all but the most demanding jobs, whereas the 18V tools are more powerful, heavier and have bigger chucks that can accommodate larger drill bits.
 Modern cordless drills have keyless chucks. Many people don’t know that you can quickly change bits using the drill’s motor to open and close the chuck, rather than turning it manually. By holding the chuck in one hand and driving the drill forward (clockwise) it will close the chuck and backwards (counter-clockwise) it will open the chuck. Most drills have a gearbox that allows you to change its maximum speed. The low speed setting (1) spins the bit with a slower maximum speed, giving you more control and greater turning force. The higher setting (2) provides a higher speed, allowing you to screw fasteners faster, but gives you less control and turning force.
Conservators typically use cordless drills when opening and closing packing crates. Here are some tips provided by Nick on how to overcome common problems:
- Check your bits. Look for signs of wear and damage and replace bits when needed.
- Check your screws Inspect your screw heads and discard any that aren’t quite right.
- Put your weight behind it. Position yourself and the screw so you can get your bodyweight behind the drill.
- Start in first gear. Shift up a gear when time is critical.
- Be gentle with your trigger finger. Always begin slowly and then, if things are going well, gradually squeeze the trigger to increase your speed.
Tip #5: Silicone tape and a glimpse into a paper conservator’s home-made tool roll
By: Wendi Powell, International Conservation Services

Self-fusing silicone tape comes in a range of colours and can be applied to tools and tool handles to make them more ergonomic and safer to use. You can build up handles and also use it to cover the sharp edges of blades, such as an axel blade. The silicone tape also allows you to clearly see which tools are yours! There is no adhesive, and fellow conservators have used the silicone tape for years on their tools with no apparent change.

Wendi has a soft tool roll, which was custom made for her by Katie Wood. It is machine stitched, custom made to fit her tools and a great way to transport them safely. Inside, she uses a mouldable silicone rubber glue called Sugru from the UK to cover scalpel heads. It can be shaped, and 24 hours later it is set into the shape, protecting things from the sharp edges. Sugru can be used for many purposes in the modification of a conservator’s tools and, as with many things, the only limit is your imagination! Other tools she has in her roll include a large stainless steel carving knife (second hand), which is perfect for backing removals. Wendi has also shaped her septum elevator by grinding it down to get a thinner end.

Tip #6: The Coonabarabran Spatula AKA the ‘Coona’
By: Kay Söderlund, Preservation Australia

Years ago, Susie Bioletti and Ranson Davey went on a trip to Coonabarabran and discovered a nylon letter opener with a floaty novelty end in a store there. They bought out all the stock and distributed them to conservators around Australia and overseas. The openers were made in Denmark and are no longer produced. They make an incredible tool for paper conservators and can be used for everything from backing removals to lifting tape. In the photograph it shows a well-used ‘Coona’ along with a new one—unused and held in reserve. Kay wishes us all luck in finding our own as they are hard to come by and apparently held in high esteem by collectors.
Tip #7: Condition reporting 700 items & pipe bore and gun-cleaning brushes
By: Wendy Reade, International Conservation Services
How do you condition report 700 items in situ in Burma when you only have six days? Wendy made this condition assessment possible by using the voice memo function on her mobile phone. She walked around the site with a colleague who took photos, while she examined the items and spoke her observations into her phone. Once back in Australia Wendy transcribed the audio into condition reports. Luci also suggested mobile apps that turn voice recordings into text, which could further cut down time.

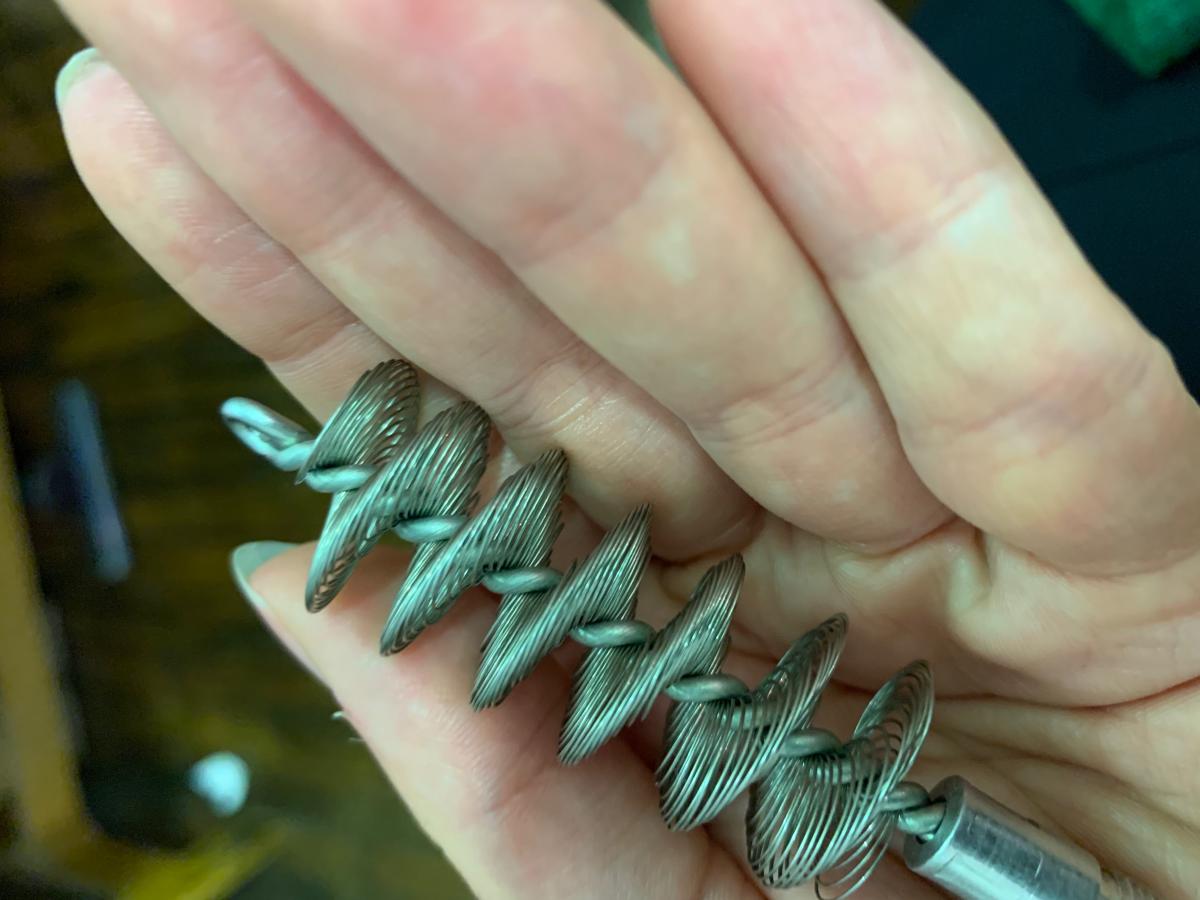


Wendy has used copper-alloy, stainless steel, and cotton brushes (industrial and gun-cleaning) for metal corrosion removal—for example, cleaning the bore of a cannon to remove loose corrosion products. The large pipe bore brush was connected to an electric drill with a 3-metre-long rod, made of lengths of thin bamboo joined together. This allowed access to the full length of the inside of the bore. The uses of these brushes are only limited by your imagination and the delicacy of your object! [Editorial note: as when using any metal brush to clean a metal surface, the brush is likely to be dissimilar and cathodic to the object so ensure any brush particles are thoroughly removed during the treatment.]
If you have any questions about the tips, tricks and tools, please contact the respective speakers. Special thanks to Beate for organising the event and Kay for hosting it.